Inviting Team Members
Add team members and assign roles to collaborate on your service business.
Overview
If you work with a team, you can invite members to your ITB Dashboard account. Each team member gets their own login and can be assigned a role that controls what they can see and do.
Sending an Invite
Navigate to Team
Click Team in the sidebar to view your current team members.
Send an Invite
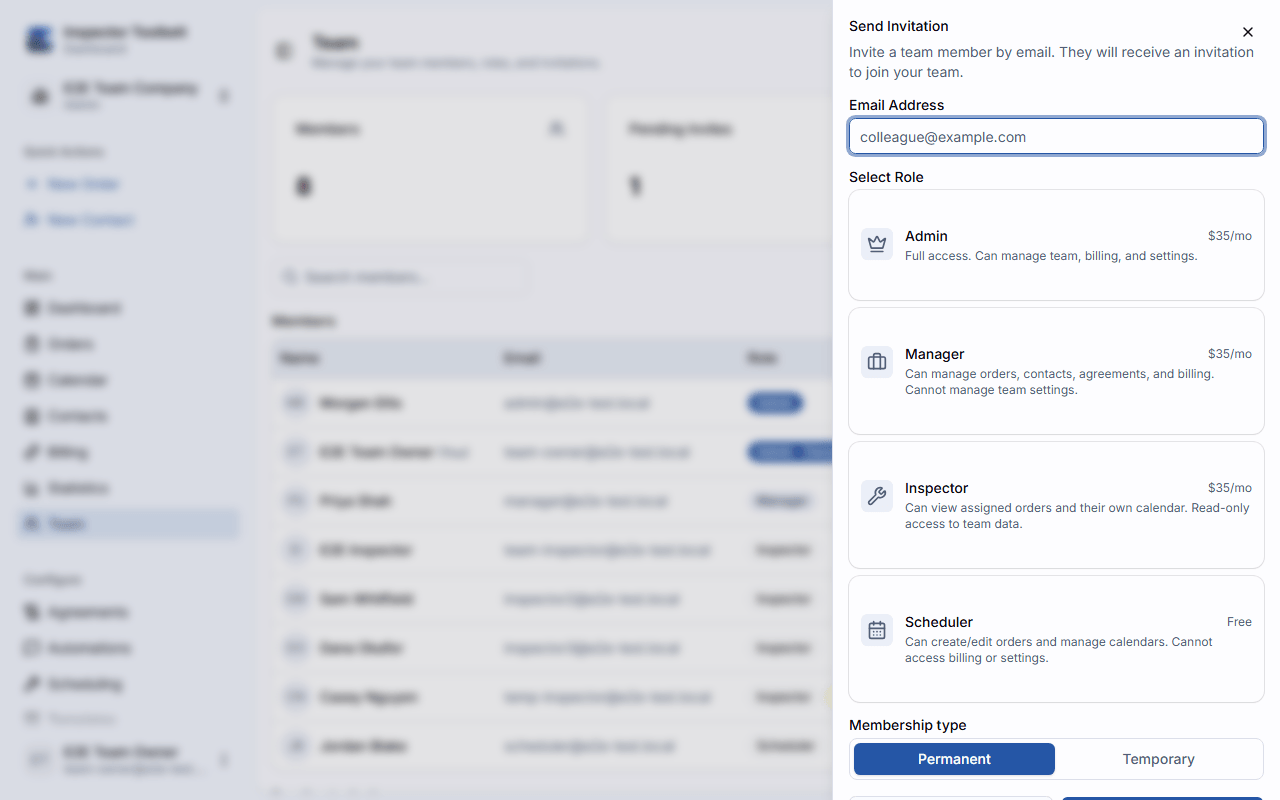
Click Invite and enter the email address of the person you want to invite. Select a role for them:
| Role | Access Level |
|---|---|
| Admin | Full access to all features and settings |
| Manager | Manage Orders, contacts, billing, automations, and settings |
| Scheduler | Create Orders, manage calendar and contacts |
| Inspector | View Orders, calendar, and contacts (read-only) |
You can also choose between a Permanent or Temporary invitation duration.
Not sure which role?
See the Team Roles reference for a full breakdown of what each role can and cannot do.
Wait for Acceptance
The invited person will receive an email with a link to join your team. Once they accept, they'll appear in your team member list.
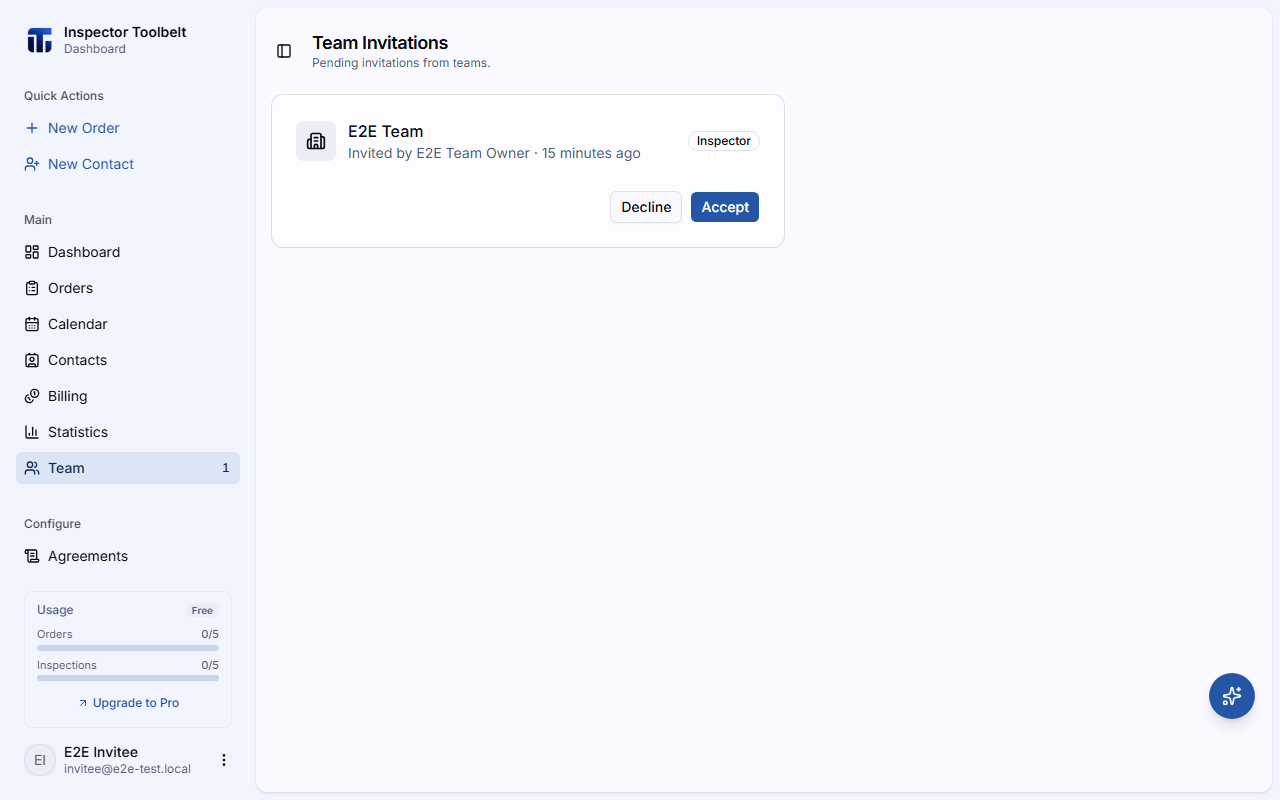
When they sign in, a badge on the Team nav item lets them know an invitation is waiting. From TeamInvitations they'll see a card with the team name, who invited them, and the role they've been offered, along with Accept and Decline buttons to respond.
Managing Invitations
From the Team page, you can:
- View pending invitations and revoke them
- Change a member's role
- Remove a member from your team
Invited users can view and respond to their pending invitations from TeamInvitations.