Your First Order
Walk through creating your first order from start to finish.
Overview
Orders are the core of your business workflow in ITB Dashboard. Each Order represents work for a client, at a Property, on a scheduled date.
Creating Your First Order
Navigate to Orders
Click Orders in the sidebar to open the orders page.
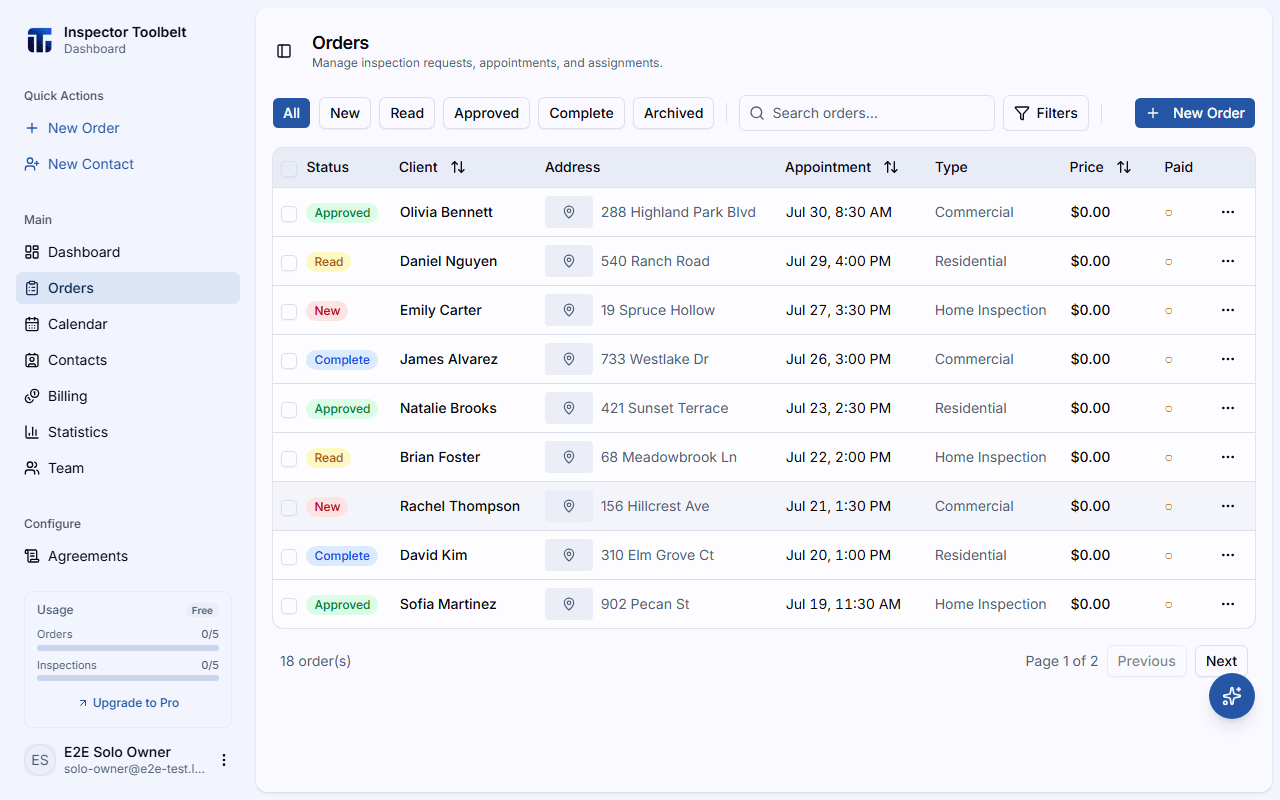
Create a New Order
Click the New Order button in the top-right corner. You can also click Save Draft at any time to save your progress and finish later.
Add Client Information
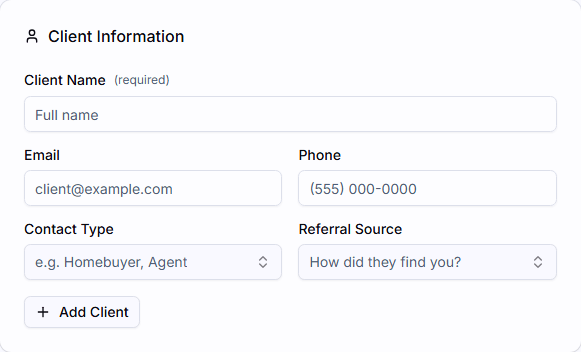
Fill in the client details:
| Field | Required |
|---|---|
| Client Name | ✅ Yes |
| Optional | |
| Phone | Optional |
| Contact Type | Optional |
| Referral Source | Optional |
Enter the Property Address
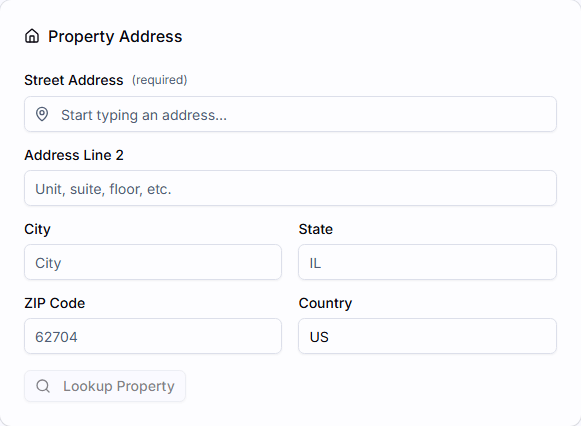
Provide the Property address. The address field supports autocomplete via Google Places.
| Field | Required |
|---|---|
| Street Address | ✅ Yes |
| City, State, Zip | Optional |
Property lookup
After entering an address, you can use the property lookup feature to auto-fill property details like year built and square footage.
Select Service Type
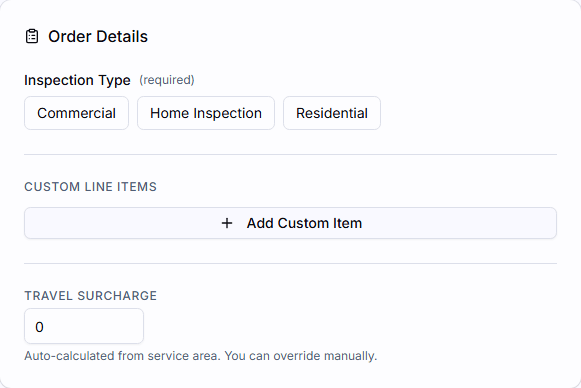
Choose the Inspection Type for this Order.
Depending on your service category configuration, you may also see options for property type, property size, additional services, and additional information.
Set the Schedule
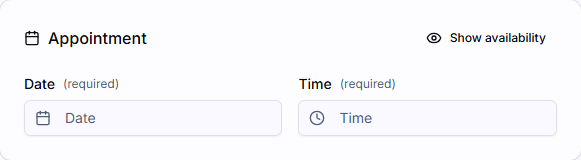
Pick the appointment date and time.
| Field | Required |
|---|---|
| Appointment Date | ✅ Yes |
| Appointment Time | ✅ Yes |
Review and Save
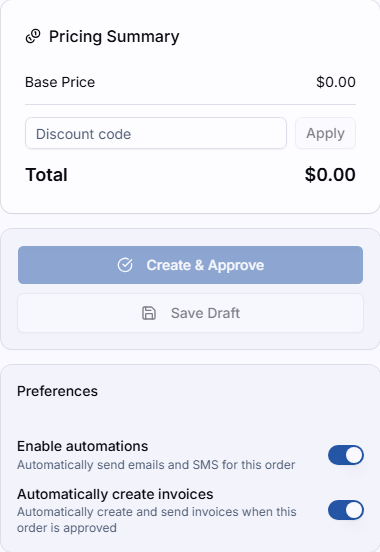
Review the details and the pricing summary shown in the sidebar, then click Create & Approve. The Order is created with Approved status and you'll be taken to its detail page.
Agent information
Before saving, you can also attach buyer and listing agent details in the Agents section.
What Happens Next?
Automatic scheduling
Once saved, the Order appears on your calendar and in your orders list. Any automated notifications you've configured will be scheduled based on the appointment date, and if automatic invoicing is enabled an invoice is created as soon as the Order is approved.