Creating an Order
Step-by-step guide to creating a new order in the dashboard.
Overview
Creating a new Order is the starting point for most workflows in ITB Dashboard. This guide walks through each step of the process.
Navigate to Orders
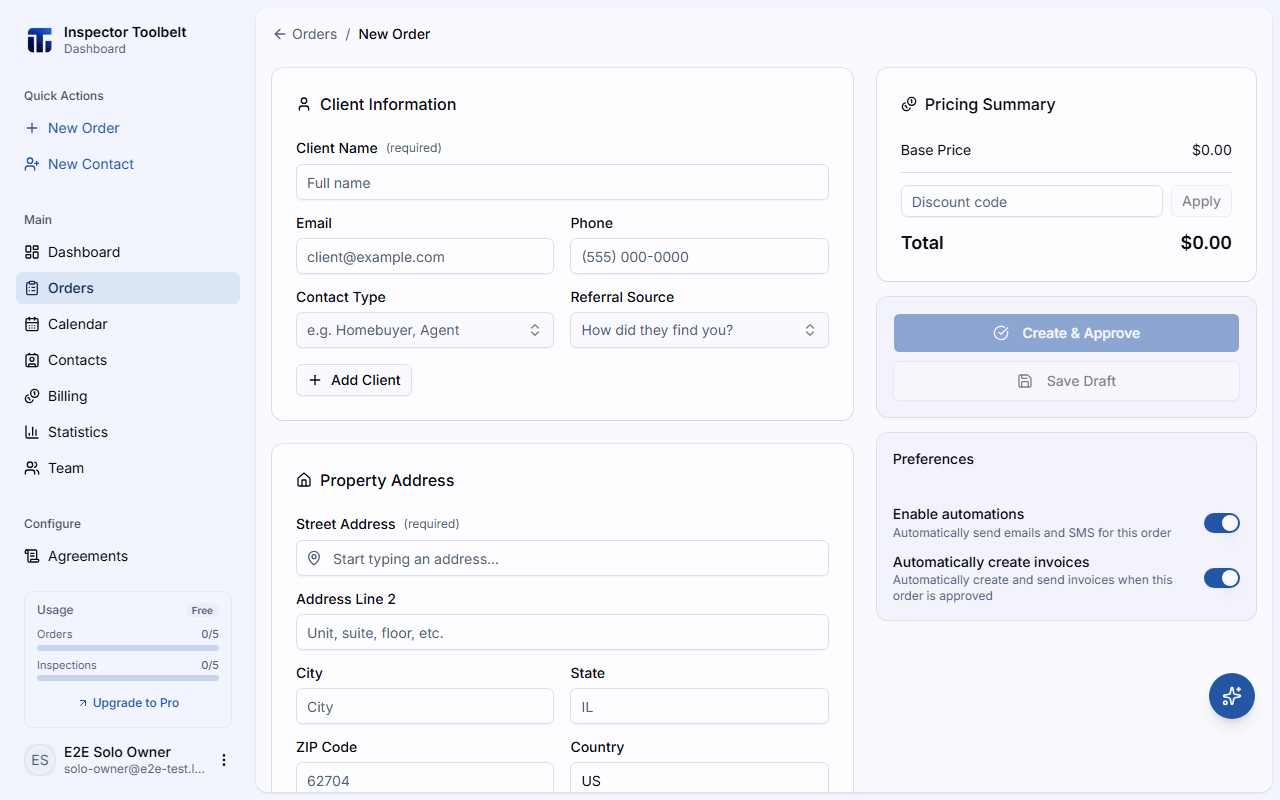
Click Orders in the sidebar, then click New Order to open the creation form.
Required Information
Client Details
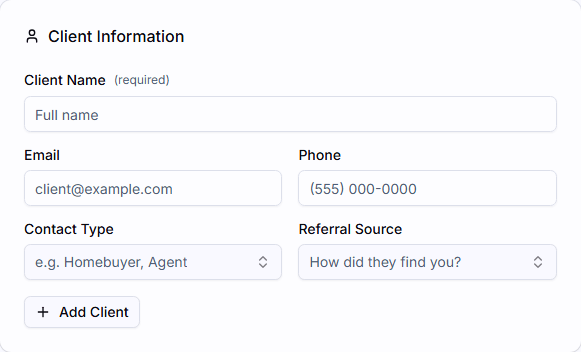
Enter the client's name and optionally their email, phone, contact type, and referral source. If the client already exists in your contacts, start typing and their information will auto-populate.
Address
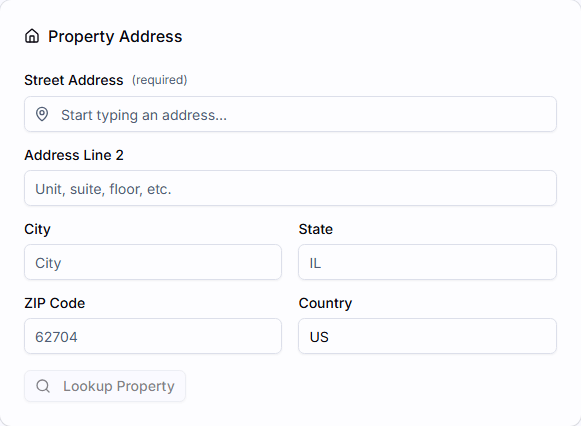
Enter the street address where the work will be performed. The address field supports Google Places autocomplete. You can also fill in city, state/region, postal code, and country.
Property Lookup
After entering an address, you can use the property lookup feature to automatically populate property details from public records, including year built, square footage, and property type.
Service Type
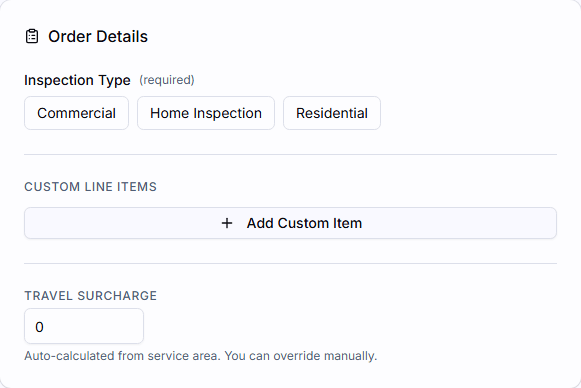
Select the type of service being performed. Your available categories are configured in SchedulingCategories.
Depending on the category, you may also see options for property type, property size, additional services, and additional information items.
Add-on Services and Line Items
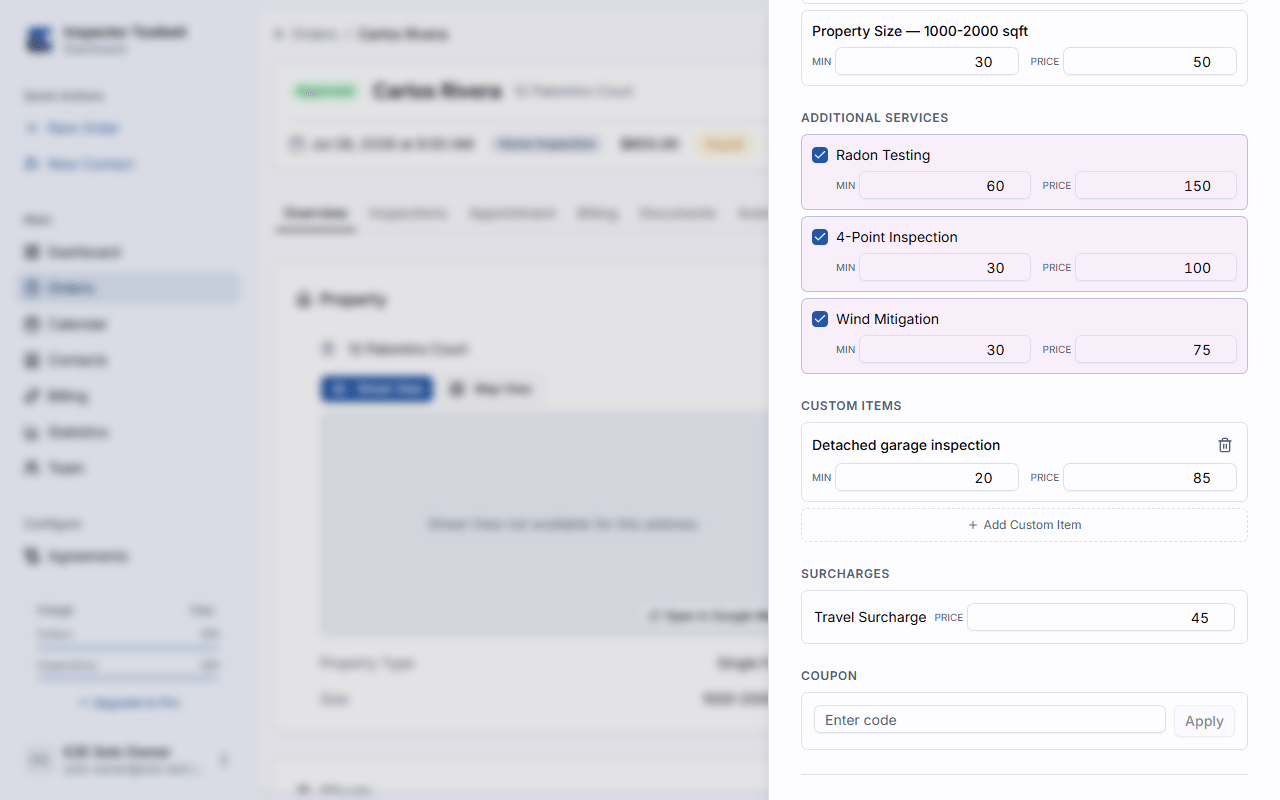
Toggle any add-on services configured for the selected Inspection Type — for example Radon Testing, 4-Point Inspection, or Wind Mitigation — to add them to the Order at their listed price. You can also add a custom line item with a free-text description, a price, and an estimated time, and set a travel surcharge for jobs outside your normal service area.
To change these after the Order is created, see Editing an Order.
Date and Time
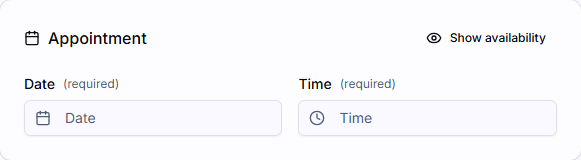
Choose the appointment date and time for the Order.
Agent Information
For real estate transactions, you can add buyer and listing agent details — name, email, and phone for each.
Saving the Order
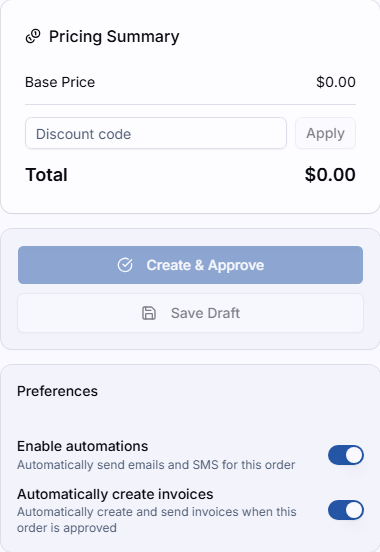
You have two options:
- Create & Approve — creates the Order with Approved status and redirects you to its detail page. If automatic invoicing is enabled, an invoice is created for the Order at the same time.
- Save Draft — saves as a Draft so you can come back and finish later. Only the client name is needed to save a draft.
From the Order detail page you can manage invoices, agreements, automated notifications, and activity history.